The safety and efficiency of your home appliances are paramount as a Dallas, Texas homeowner. One often overlooked but critical maintenance task is cleaning the dryer vent, especially on the roof. Neglecting this task can lead to serious safety hazards and reduced dryer performance. In this guide, we’ll walk you through the essential steps of how to clean the dryer vent on the roof. Let’s get started.
Why Cleaning Your Dryer Vent Matters
Before diving into the cleaning process, it’s essential to understand why cleaning your dryer vent is crucial. Over time, lint, debris, and other obstructions can accumulate in the vent, restricting airflow. This buildup not only reduces the efficiency of your dryer but also poses a significant fire risk.
According to the National Fire Protection Association (NFPA), failure to clean dryer vents is a leading cause of home fires, making regular maintenance imperative.
How to Clean the Dryer Vent on the Roof
The following is a step-by-step guide that you should follow to clean the dryer vent on the roof.
Safety First
Before cleaning your dryer vent on the roof, prioritize safety. Ensure the dryer is powered off and unplugged to prevent any potential accidents. Use a sturdy ladder to access the roof safely. If you’re uncomfortable with heights or uncertain about the process, consider enlisting the help of a professional. Safety goggles and gloves are essential to protect yourself during the cleaning process. Always prioritize safety to avoid any mishaps or injuries.
Gather Necessary Tools
Equip yourself with the necessary tools before starting the cleaning process. You’ll need a screwdriver or nut driver to remove the screws securing the vent cover. Additionally, prepare a vent brush or vacuum attachment to clean the vent duct effectively.
Depending on the height of your roof, an extension rod may be required to reach the vent. Safety goggles and gloves are essential for protection during the cleaning process. Having the right tools on hand will ensure a smooth and efficient cleaning process.
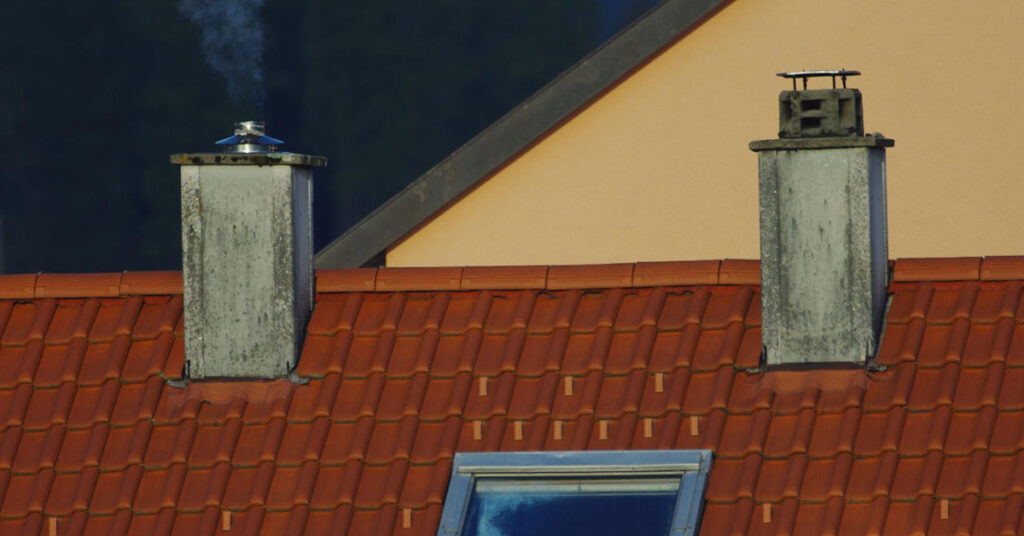
Locate the Dryer Vent Exit
Begin by locating the dryer vent exit on your roof. This is typically situated near the edge of the roof and covered by a vent hood. The vent hood facilitates proper airflow and prevents debris from entering the vent duct. Identifying the vent exit is crucial before proceeding with the cleaning process.
Take note of its position and ensure easy access for cleaning. Properly locating the vent exit will streamline the cleaning process and ensure thorough maintenance of your dryer vent system.
Remove the Vent Cover
With the vent exit identified, proceed to remove the vent cover. Use a screwdriver or nut driver to loosen and remove the screws securing the vent cover in place. Carefully lift the cover off the vent opening, taking care not to damage it.
Set the vent cover aside in a safe location for cleaning. Removing the vent cover provides access to the vent duct, allowing for thorough cleaning and maintenance.
Clean the Vent
With the vent cover removed, it’s time to clean the vent duct. Use a vent brush or vacuum attachment to remove lint and debris buildup from the duct. Insert the tool into the duct and gently push or pull to dislodge any obstructions. Work methodically to ensure all areas of the duct are thoroughly cleaned.
Pay special attention to areas where lint and debris may accumulate, such as bends or junctions in the duct. Proper cleaning of the vent duct is essential for maintaining optimal dryer performance and preventing fire hazards.
Clean the Vent Cover
While the vent duct is being cleaned, take the opportunity to clean the vent cover thoroughly. Use a brush or cloth to remove any debris or buildup from the cover. Pay attention to both the inside and outside surfaces of the cover to ensure proper airflow.
Cleaning the vent cover helps maintain efficient ventilation and prevents debris from entering the vent duct. A clean vent cover also enhances the aesthetic appearance of your roof and improves overall curb appeal.
Reattach the Vent Cover
Once the vent duct and cover are clean, it’s time to reattach the vent cover to the roof. Position the cover over the vent opening and align it properly. Use the screws removed earlier to secure the vent cover in place. Tighten the screws securely to ensure the cover is firmly attached to the roof.
Properly securing the vent cover prevents it from coming loose and ensures uninterrupted airflow. Take care not to overtighten the screws, as this may damage the cover or the roof surface.
Test the Dryer
With the vent cover securely in place, plug in the dryer and run a test cycle to confirm proper airflow and drying performance. Monitor the dryer during the cycle to ensure it operates efficiently without any issues. Pay attention to the drying time and the temperature of the air expelled from the vent.
Proper airflow is essential for efficient drying and preventing overheating of the dryer. If you notice any abnormalities during the test cycle, double-check the vent duct and cover to ensure they are clean and properly installed.
Read More: Can You Paint Roof Shingles?
The Takeaway
Regularly cleaning your dryer vent on the roof is a crucial aspect of home maintenance for Dallas homeowners. By following the steps outlined in this guide, you can effectively remove lint and debris buildup, reduce fire hazards, and optimize the performance of your dryer.
Remember to prioritize safety throughout the process and consider seeking professional assistance if needed. Keep your home safe and efficient by incorporating dryer vent cleaning into your regular maintenance routine.